Jailbreaking eliminates limitations in iOS and provides root access to the iOS file system so that it can run software that Apple has not authorized.
Steps to Jailbreak Your iPhone
Before we begin, please ensure you have no passcode lock on your device (you can add it back after the jailbreak is applied). If you previously updated OTA, you must do a full backup and re-restore.
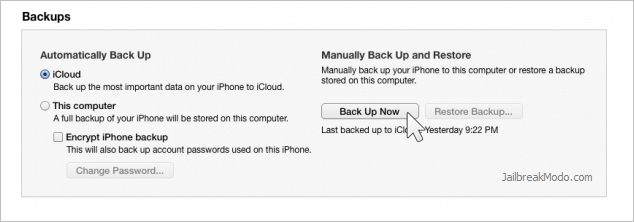
Connect your iPhone to your computer, then perform a manual backup of your iPhone using iTunes. Create a folder called Pwnage on your desktop, and then download the latest version of evasi0n into the folder. We recommend you download your device’s latest iOS firmware into the Pwnage folder. The evad3rs suggest a full restoration before performing the jailbreak. Extract the Evasi0n zip file to the Pwnage folder on your desktop.
Launch iTunes.
Ensure your iPhone is connected to the computer via USB and select it from the left sidebar or the top right corner of the window. Press and hold the Shift key and click the Restore iPhone button.
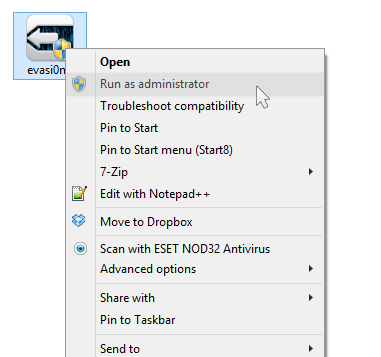
Once your restore has been successfully completed, right-click the evasi0n7.exe icon, then select “Run as Administrator” from the contextual menu to launch the application.
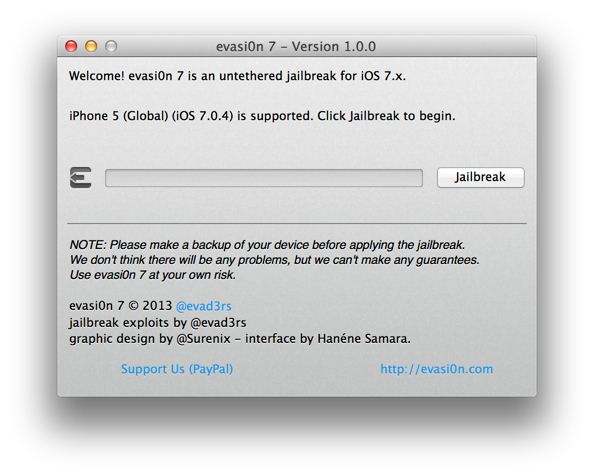
Remove any lock screen passcodes on your device, then click the Jailbreak button to begin. The app will retrieve information from the device to generate jailbreak data, upload jailbreak data, inject evasi0n app 1, inject evasi0n app 2, configure system 1, configure system 2, and reboot.
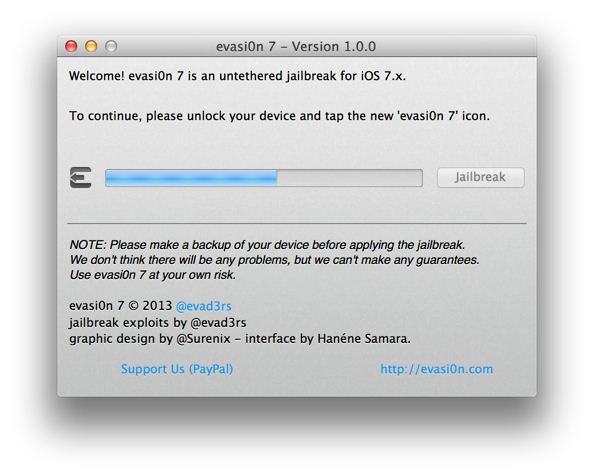
You will then be asked to unlock your device and tap the new ‘evasi0n 7‘ app icon. It is crucial that you only tap the icon once. The app will open and immediately close.
Evasi0n will reboot the device again, modify roots, and complete! So, that’s how easy it is to jailbreak iPhone. If you need more help jailbreaking your iPhone, let us know in the comments. Also, if the article helped you, make sure to share it with your friends as well.
